QuickBooks is an accounting software package and it targets mainly small and medium-sized businesses. The process in QuickBooks needs to be handled by an experienced hand.
QuickBooks has the option to set up invoice for selling products, and what are the credits and debits are made under the business we record the all transactions. The bills that are needed to be processed basically contain two types of transactions: Direct bill payment and Visa payment.
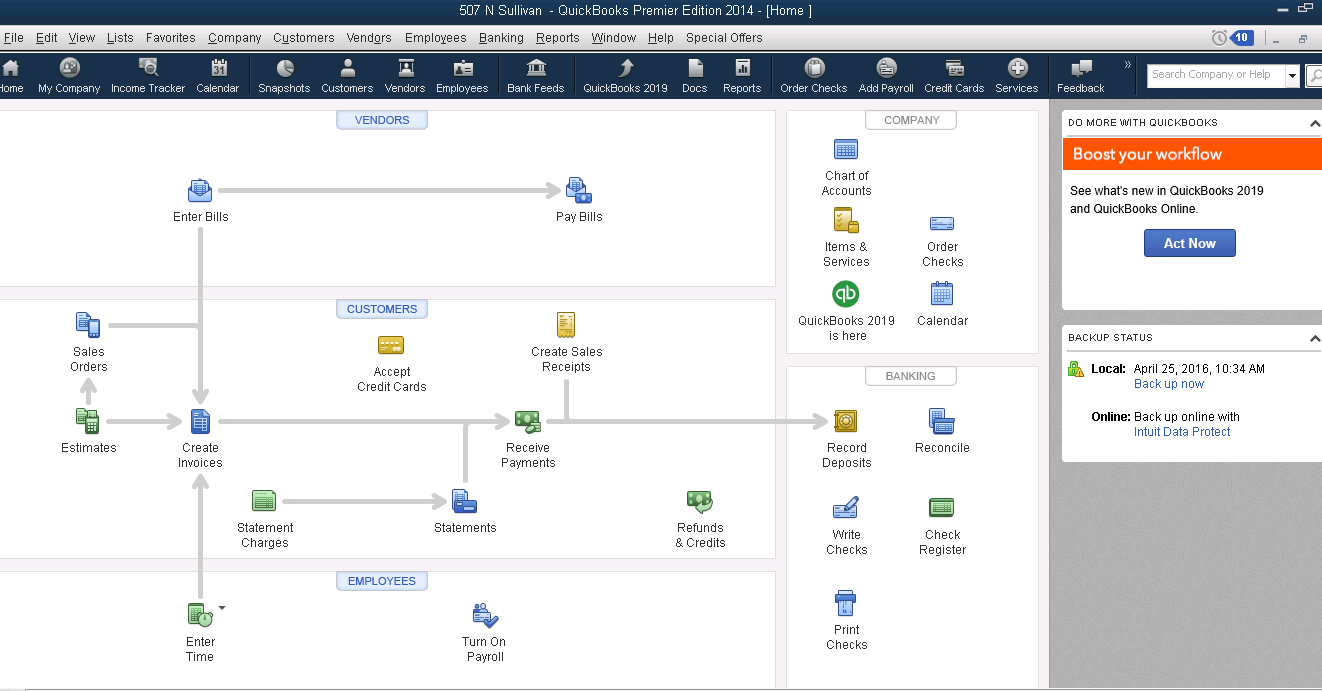
The QuickBooks software contains tabs such as Vendors and Banking under which sub-category tabs are available. These tabs provide the access to the online bill entry form. We can create an invoice for selling products, and what are the credits and debits are made under the business we record the all transactions.

The bill contains transaction amount listed in the form of debit and credit format. However, in terms of entering the bills into the Quick Books software, following things are to be considered:
- Pay Method: This column illustrates the payment method adopted by the customer to pay the bills. The bill may contain terms such as “DB” and “VS4121” which indicates the nature of payment. The term “DB” illustrates direct bill payment whereas “VS4121” illustrates VISA transactions
- Invoice Number: Invoice number is shown under the column “invoice number”
- Date: This column illustrates the bill date. This date is to be referred when entering the “bill date” into the online bill entry form
- Folio Number: This number can be considered as reference number if invoice number for a particular transaction is not available
- Credit Amount: The credit amount at the end of the bill reflects the invoice amount to be entered into the online bill entry form
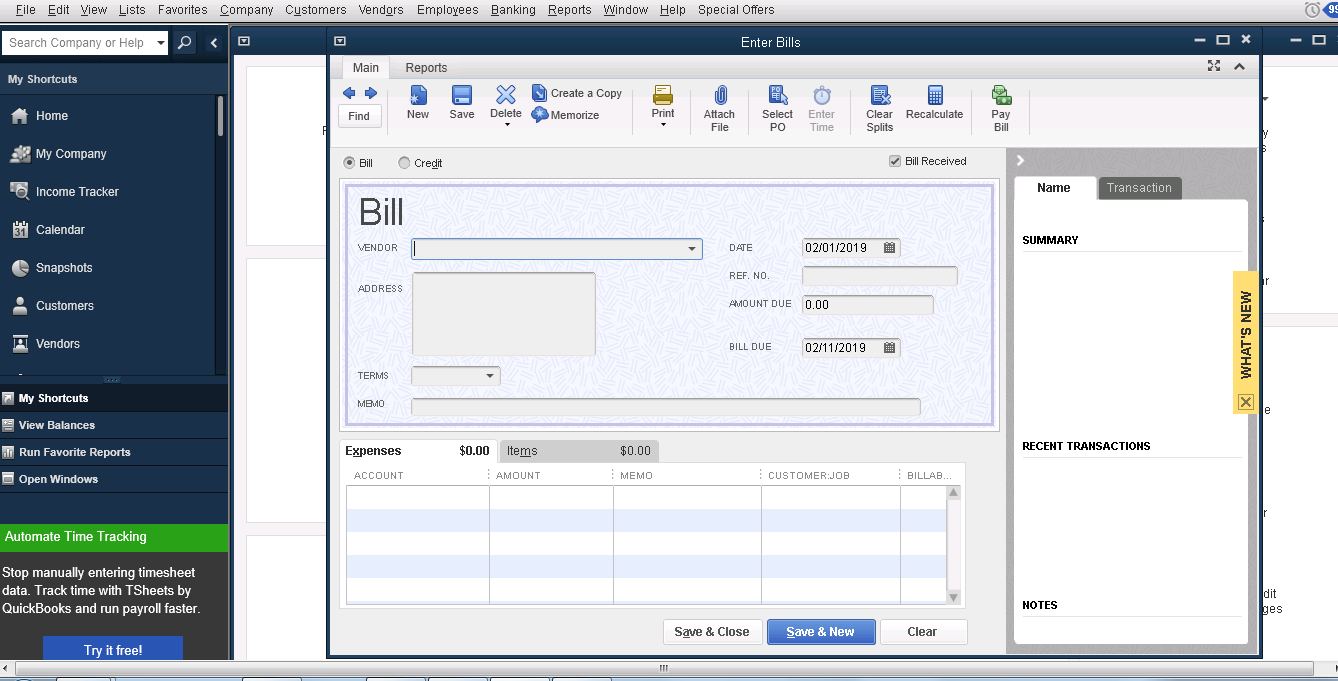
Bill Entry Process
- Step 1: Click on the Vendor tab and then access the online bill entry form by clicking “Enter Bill” tab
- Step 2: Select “Bill”
- Step 3: Select the Vendor name with the help of a drop down list. If the vendor name is not there in the drop down list select “others”
- Step 4: Enter reference number
- Step 5: Enter the date of the bill
- Step 6: Enter invoice amount. This is the amount of money you owe in this bill
- Step 7: Enter the terms, the vendor is extending you
- Step 8: Due date follows the Terms setting
- Step 9: Enter the Memo. The Memo reflects the name of the customer on which the bill has been has generated
- Step 10: Select the appropriate account
- 11: Enter Step client information
- Step 12: Enter the appropriate class
- Step 13: Click on the save button